By: Youtube channel @crochet_with_mokot / I’d love to see your finished project, so please tag and credit me on social media with #crochetwithmokot in your finished work if you choose to share.
———————————————————
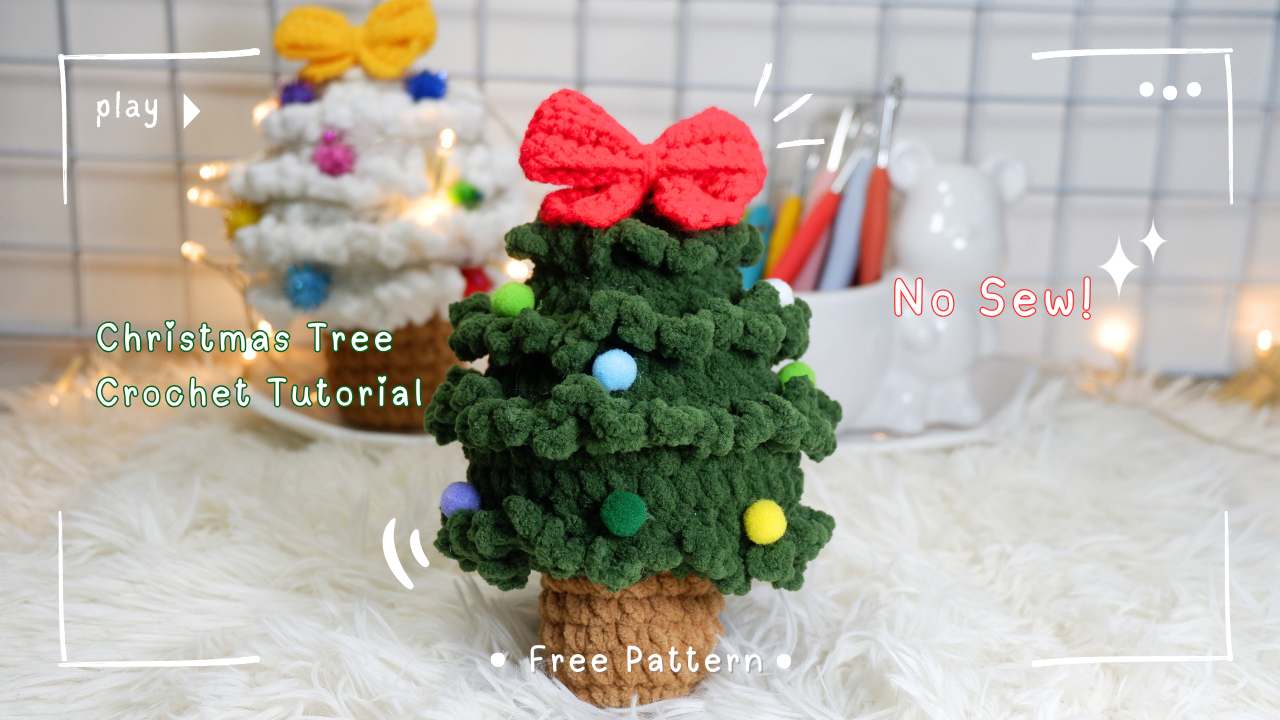
Pattern Title:
- Christmas Tree Plushie – Digital Crochet Pattern
Skill Level:
- Beginner
———————————————————
Materials:
Yarn:
- White or Green Chunky yarn – (Approx. 50g)
- Brown Chunky yarn – (Approx. 15g)
- Red milk cotton yarn – (Approx. 15g)
Hook Size:
- 4.5mm crochet hook
- 2.5mm crochet hook
Other Tools:
- Yarn needle (for weaving in ends)
- Stitch markers (optional)
- Scissors
- Fiberfill stuffing (Approx. 10g)
- Glue (optional)
———————————————————
Finished Size:
- Width : 11 cm
- Height : 16 cm
———————————————————
Abbreviations (US Terms):
- mr – magic ring
- ch – chain
- sc – single crochet
- hdc – half double crochet
- inc – increase (2 sc in the same stitch)
- dec – decrease (sc two stitches together)
- sl st – slip stitch
- st(s) – stitch(es)
- rep – Repeat
- Rnd – Round
- R – Row
- BLO – back loop
- FO – fasten off
———————————————————
*FREE DOWNLOAD “CHRISTMAS TREE PLUSHIE” PDF PATTERN*
![]()
Notes:
- This Pattern follow US crochet terms
- Number of stitches indicated between “<>”. Ex. “<23 sts total>”.
- Use a stitch marker to mark the beginning of your rounds.
———————————————————
Pattern Instructions:
Trunk:
- Rnd 1: <8 sts total>
- With green yarn, make a mr, ch1, and work 8 sc into the ring. Pull the ring tight, sl st.
- Rnd 2: <16 sts total>
- Ch1, inc*8, sl st.
- Rnd 3-6: <16 sts total>
- Ch1, 1 sc into each st around, sl st.
Tree Base:
- Rnd 7: <24 sts total>
-
- With brown yarn, Ch1, [1 sc, inc]*8, sl st.
- Rnd 8: <32 sts total>
-
- Ch1, [1 sc, inc, 1 sc]*8, sl st.
- Rnd 9: <40 sts total>
-
- Ch1, [3 sc, inc]*8, sl st.
- Rnd 10: <35 sts total>
-
- Ch1, [3 sc, dec, 3 sc]*5, sl st.
- Rnd 11: <35 sts total>
-
- Ch1, 1 sc into each st around, sl st.
- Rnd 12: <30 sts total>
-
- Ch1, [5 sc, dec]*5, sl st.
- Rnd 13: <30 sts total>
-
- Ch1, 1 sc into each st around, sl st.
- Rnd 14: <25 sts total>
-
- Ch1, [2 sc, dec, 2 sc]*5, sl st.
- Rnd 15: <25 sts total>
-
- Ch1, 1 sc into each st around, sl st.
*Note: Before finishing the main body, insert the stuffing.
- Rnd 16: <20 sts total>
-
- Ch1, [3 sc, dec]*5, sl st.
- Rnd 17: <15 sts total>
-
- Ch1, [1 sc, dec, 1 sc]*5, sl st.
- Rnd 18: <10 sts total>
-
- Ch1, [1 sc, dec]*5, sl st.
- Rnd 19: <5 sts total>
-
- Ch1, dec*5, sl st.
- Rnd 20: <5 sts total>
-
- Ch1, 1 sc into each st around, sl st.
*Note: Leave a long tail for sewing the edges together, making sure they are properly aligned,
and securely tighten the ends.
Ruffle Edging:
- Work into rnd 9-12-15-18:
-
- [Ch3, 1 sc into the next st] rep this around the rnd, sl st.
———————————————————
Bow:
- R 1: <44 sts total>
-
- With red yarn, make a sl knot, ch 45, 4 hdc (starting from the 2nd chain from the hook), 4 sl st, 12 hdc, 4 sl st, 12 hdc, 4 sl st, 4 hdc, ch 1 and turn.
- R 2-3: <44 sts total>
-
- BLO, 4 hdc, 4 sl st, 12 hdc, 4 sl st, 12 hdc, 4 sl st, 4 hdc, FO.
*Note: Shape the bow: Gently fold a piece of yarn to wrap around the middle to give the bow its traditional shape.
———————————————————
Assembly:
- Stuffing: Carefully stuff the plushie with fiberfill or your preferred stuffing material. Make sure to stuff it evenly so that the tree holds its shape but isn’t overstuffed (to avoid stretching the stitches). Once stuffed, sew the remaining opening closed securely.
- Decorating the Tree:
- Attach Ornaments: If you’ve crocheted or made small ornaments (like mini baubles, stars, or lights), use a glue or yarn needle to sew them onto the tree to secure them in place.
- Bow Topper: If your tree has a bow topper, sew or attach it securely to the top of the tree using the same method.
- Weave in Ends: Make sure to weave in any loose ends from the assembly process, hiding them in the body of the plushie.
———————————————————
*More detail watch my video tutorial on Youtube.


