WordPress 2025: How to Build a Free Website in 10 Simple Steps
In 2025, having a website is essential for anyone looking to establish an online presence, whether for personal branding, a small business, or even a blog. WordPress remains one of the most popular and accessible platforms for building websites. Best of all, you can create a website for free using WordPress without needing extensive technical knowledge. This guide will walk you through the process of creating your website step-by-step, while offering helpful tips to ensure it’s optimized for success.
Table of Contents
Why Choose WordPress in 2025?
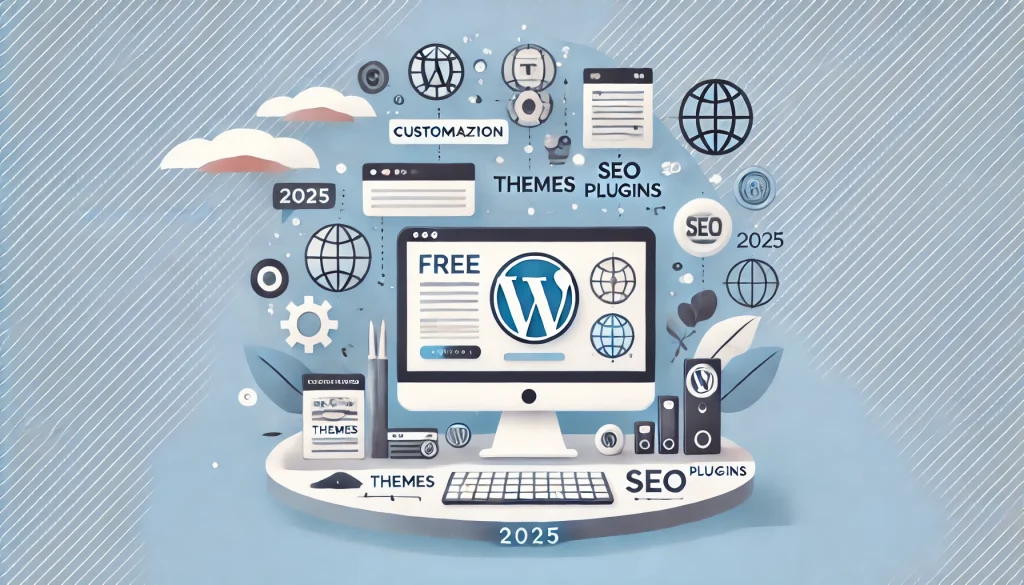
WordPress has long been the go-to platform for creating websites, and its popularity is only growing. As of 2025, over 40% of all websites are built using WordPress. Here’s why:
- User-Friendly: No coding skills are required. The platform is easy to navigate, making it accessible even for beginners.
- Free to Use: WordPress offers a free version that’s packed with features. While there are premium options, you can create a functional and attractive website at no cost.
- Customizable: With thousands of free themes and plugins, you can create a unique website that suits your specific needs.
- SEO-Friendly: WordPress is built with SEO in mind, making it easier for your site to rank on Google and other search engines.
Ready to build your WordPress website? Follow these steps.
Step 1: Choose Between WordPress.com and WordPress.org
WordPress offers two versions: WordPress.com and WordPress.org. For the purpose of this guide, we’ll focus on WordPress.com, which allows you to create a free website without the need to pay for hosting or domain names.
Differences Between WordPress.com and WordPress.org:
- WordPress.com: Offers a free hosting plan with a subdomain (yourwebsite.wordpress.com). It’s ideal for beginners who want a no-cost, hassle-free setup. You can upgrade to premium plans for more features.
- WordPress.org: Requires purchasing hosting and a domain name, but gives you complete control over your website, including access to all plugins and customization options.
For this guide, we will focus on creating a free website using WordPress.com.
Step 2: Sign Up for a Free WordPress Account
- Visit WordPress.com: Head over to the WordPress.com website and click the “Get Started” button.
- Create an Account: You will need to sign up with an email address, or you can use your Google or Apple account for quicker registration.
- Choose a Plan: Select the Free Plan for now. While WordPress offers paid plans with more advanced features, the free plan is sufficient for most basic websites.
Once you’ve completed the registration process, you’re ready to start building your site.
Step 3: Choose Your Domain Name
Your domain name is the web address where people will find your site. With the free plan on WordPress.com, your domain will be in the format of yourname.wordpress.com. This is a great starting point, and you can always upgrade to a custom domain (like yourname.com) later.
Tips for Choosing a Domain Name:
- Keep It Short and Memorable: Aim for a short, catchy name that’s easy to remember.
- Use Keywords: If you’re building a website for a specific niche or business, include relevant keywords in your domain name.
- Avoid Numbers and Hyphens: These can be hard to remember and may look unprofessional.
Step 4: Choose a WordPress Theme
WordPress offers thousands of free themes to choose from. A theme controls the design and layout of your website, so it’s important to pick one that suits your style and objectives.
- Go to the Theme Library: From your WordPress dashboard, navigate to “Appearance” and click “Themes.”
- Browse Themes: You can search by keyword, filter by layout, or choose from popular themes. There are themes designed for blogs, businesses, portfolios, and more.
- Preview and Activate: Before selecting a theme, click the “Live Preview” button to see how it will look on your site. Once you’ve found the perfect theme, click “Activate.”
Tips for Choosing a Theme:
- Responsive Design: Ensure the theme is mobile-friendly. With more people browsing the internet on mobile devices, a responsive design is crucial.
- SEO-Friendly: Look for themes that are optimized for search engines. Most WordPress themes are built with SEO in mind, but double-check for themes labeled as “SEO-friendly.”
- Simplicity is Key: Avoid overly complex themes. A clean, simple design is more user-friendly and tends to load faster.
Step 5: Customize Your Website
Once you’ve selected your theme, it’s time to start customizing your website. WordPress makes this easy through its drag-and-drop editor, allowing you to make changes in real-time.
- Add Your Site Title and Tagline: Under “Settings” > “General,” add your site’s name and tagline. This will appear in search results and on your homepage.
- Customize the Homepage: Navigate to “Appearance” > “Customize” to edit the homepage, upload a logo, and adjust colors and fonts.
- Create Key Pages: Common pages include:
- Home Page: The first page visitors see.
- About Page: Tell your visitors about yourself or your business.
- Contact Page: Provide a form or email address for people to get in touch with you.
Tips for Customization:
- Use Custom Widgets: Add widgets like recent posts, search bars, and social media icons to make your site more engaging.
- Choose High-Quality Images: If you’re adding images to your site, make sure they’re high quality and relevant to your content.
Step 6: Add Essential Plugins
Although the free plan on WordPress.com has some limitations regarding plugins, there are still essential features available. However, if you upgrade to a paid plan or use WordPress.org in the future, you’ll have access to thousands of plugins that enhance your website’s functionality.
Some must-have plugins for any website include:
- Yoast SEO: Helps optimize your content for search engines.
- Jetpack: Offers security, performance, and growth tools.
- WPForms: Adds a contact form to your site.
- MonsterInsights: Integrates Google Analytics with your WordPress dashboard to track website performance.
Step 7: Optimize Your Website for SEO
Search engine optimization (SEO) is critical to ensure your website is easily found on Google and other search engines. WordPress is inherently SEO-friendly, but there are steps you can take to enhance this further.
Tips for Optimizing SEO:
- Keyword Research: Use tools like Google Keyword Planner to find keywords relevant to your content. Incorporate these keywords into your posts, titles, and descriptions.
- Create Quality Content: Write valuable, engaging content for your audience. Long-form content tends to rank better on Google.
- Optimize Images: Use descriptive filenames and alt text for all your images.
- Use SEO-Friendly URLs: In WordPress, go to “Settings” > “Permalinks” and choose the “Post Name” option for clean, SEO-friendly URLs.
Step 8: Publish and Promote Your Website
Once your site is ready, it’s time to hit the “Publish” button! But building a website is only the first step — promoting it is equally important.
Ways to Promote Your Website:
- Social Media: Share your website on social media platforms like Facebook, Twitter, and Instagram.
- Email Marketing: Build an email list and send regular newsletters with links to new content.
- SEO: Continue optimizing your site for SEO by adding fresh, keyword-rich content regularly.
Step 9: Monitor Your Website Performance
As your website grows, you’ll want to monitor its performance to see how well it’s doing. WordPress.com provides basic analytics for free, showing you visitor numbers, traffic sources, and more.
Tools to Monitor Website Performance:
- WordPress Stats: Available for free within WordPress.com, giving you insights into visitor data.
- Google Analytics: Use MonsterInsights to easily integrate Google Analytics and access detailed reports on your audience.
Step 10: Upgrade as Your Site Grows
While the free version of WordPress is fantastic for beginners, you may want to upgrade as your site grows. WordPress.com offers several paid plans with more storage, customization options, and the ability to use your own domain name.
Why Upgrade?
- Custom Domain: Replace your free “.wordpress.com” URL with a custom domain.
- More Customization: Unlock premium themes and advanced design options.
- Remove Ads: WordPress.com displays ads on free sites, which you can remove by upgrading.
Conclusion
In 2025, creating a free website with WordPress is easier than ever. By following this step-by-step guide, you can establish a professional online presence without spending a dime. WordPress’s user-friendly interface, combined with its vast selection of themes and SEO-friendly tools, makes it the perfect platform for beginners. Whether you’re starting a personal blog or launching a small business website, WordPress.com has everything you need to succeed online.